Spring Swing Sets Inspection Checklist
There are some specific sounds that define the first days of spring and they aren’t just the chirping of birds returning, or the hum of a lawnmower, it’s also the sound of the back door swinging open and the kids sprinting outdoors in lighter gear for the first time in weeks, maybe even months. Before you let them loose to test the limits of gravity, there’s one “parent task” that needs to happen first to ensure your playset remains the safest spot on the block. Keep reading to find your quick-start guide to a spring safety inspection!
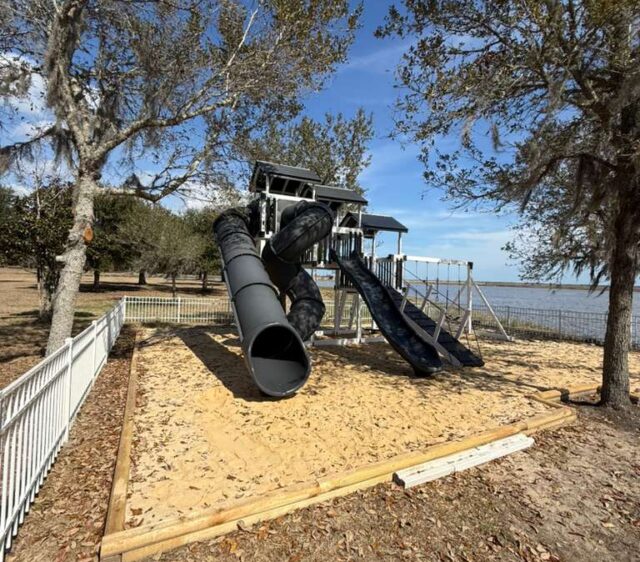
1. Swing Set Visual Scan
Start by walking the perimeter of your Swing Set. You’re looking for any obvious changes that happened during the winter season. If you own an Adventure World Playset, which are all encased in high-quality vinyl, you don’t have to worry about the rot or warping that plagues wooden sets, but you should still look for:
- Debris: Check for fallen branches or heavy piles of wet leaves on the roofs or slides.
- The Ground Level: Did the winter frost cause any heaving? Make sure that the set still looks level, for a tilted set puts uneven stress on the joints.
2. Give it a Scrub
Winter air can leave a film of “winter grime” or mildew in shaded areas.
- A simple bucket of warm, soapy water and a soft brush or washcloth will do the trick. If you have some stubborn spots, a mild household cleaner is fine. Rinsing it down with a garden hose makes it look brand new again and also gives you a chance to look closely at the surfaces for any cracks or damage.
3. Hardware Check
Metal and plastic expand and contract at different rates when the temperature swings and even the most secure bolt can loosen slightly over a few seasons.
- Take your wrench and screwdriver and check the main structural bolts, but don’t over-tighten, just make sure everything is snug.
- Pay special attention to the swing hangers since these are high-friction points; if you see significant thinning of the metal loops, it might be time to order a quick replacement part.
4. Slides and Swings
The slides and swings are the stars of the show and therefore, the most used.
- Slides: Run your hand carefully down the length of the slide. You’re feeling for any cracks or maybe even gaps where the slide attaches to the tower. Ensure the exit point of the slide hasn’t been blocked by a pile of mulch or small stones.
- Swings: Check the swing belts for any “spider-web” cracking in the plastic. Give the ropes or chains a firm tug. If you have a tire swing, check the interior for any water or even critters that might have moved in during the freezing, snowy days.
5. Surfacing
This is the most overlooked part of playset safety. According to the CPSC, most playset injuries occur because of a fall to the ground, not a failure of the equipment itself.
- If you use rubber mulch or wood chips, check the “high-traffic” areas, specifically under the swings and at the bottom of the slide. Kids tend to kick mulch away as they play, creating “craters.”
- Rake the mulch back into a level surface. You want a consistent depth (usually 6 to 10 inches) to provide a soft landing.
6. A Quick Lube Job
If your playset has a steering wheel, a telescope, or a swivel tire swing, they might sound a little “creaky” after extreme weather
- A quick spray of a non-toxic lubricant on moving metal parts can stop the squeaking and make everything move like butter.
Ready To Play!
Once you’ve checked the bolts, raked the mulch, and wiped down the slide, you can breathe easy. There’s a special kind of peace of mind that comes from knowing your backyard is a safe haven for your kids to stay active. So, let the season begin, your playset is ready!